M
Written by Maksym
Updated 2 weeks ago
Creating a Plan
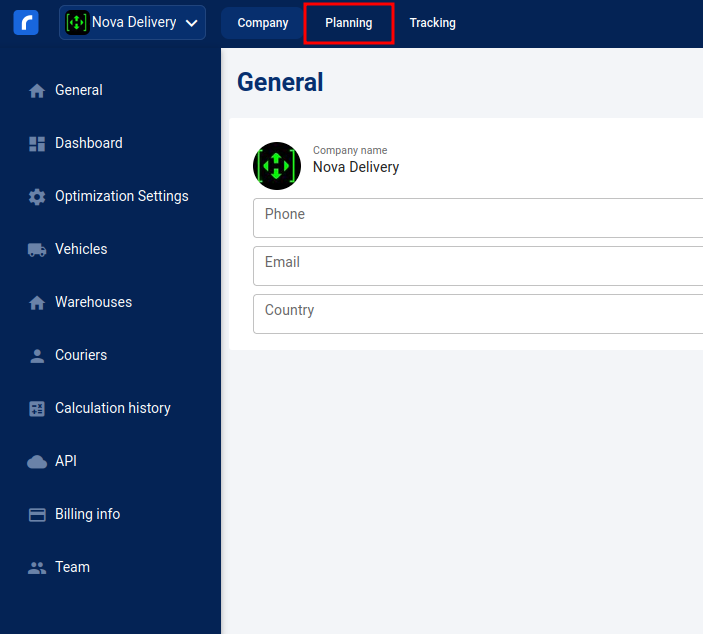
- Access Planning Mode: Log into your Routestripe account and switch to Planning mode via the upper-left section.
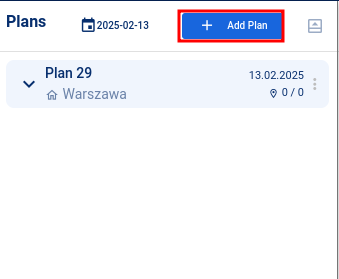
- Select a Date: In the Plans side section, click the date button to choose the target date for the plan.

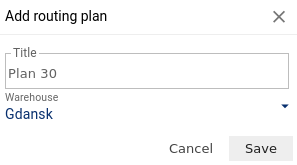
- Add a Plan: Select Add Plan, enter the plan title, choose the warehouse from the dropdown menu, and save your entry.
Adding Drivers and Visits
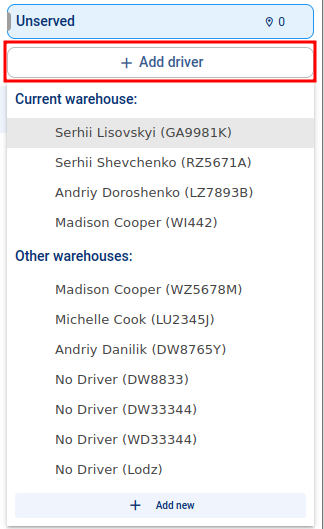
- Add Drivers:
- Use the Add Driver button to assign drivers.
- To create a new driver, click Add New.
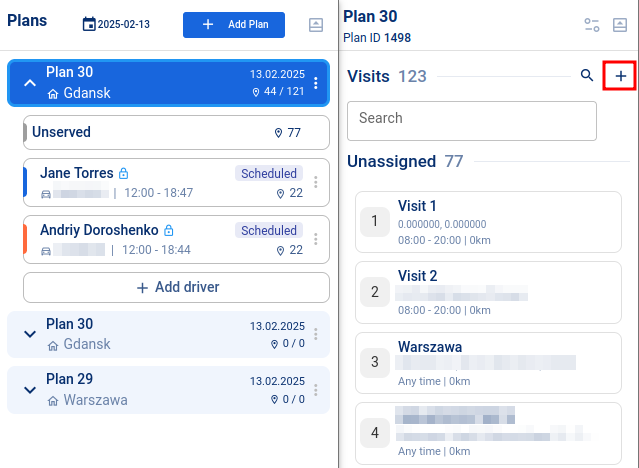
- Add Visits:
- In the Visits section, select Add Visits.

- By Map: Click Select on Map to drop visit points interactively.
- By Import: Upload visits from an .xls file using Import.
- Manually: Enter visit details, including title, delivery type, time brackets, capacity, recipient details, and address (via search or interactive map).

- Title
- Type of delivery, can be delivery or pickup.
- Start and end time of the visit duration brackets.
- Duration for visit
- Maximum capacity for the visit.
- Maximum load for the visit.
- Address (this field shows possible addresses upon typing)
- Interactive map for manual selection, coordinates.
- Specifics on recipient name.
- Specifics on recipient phone number.
- Specifics on delivery for the recipient.
- General note on delivery.