Creating a warehouse in your Routestripe account is a quick and straightforward process. Follow these steps to set up a new warehouse and ensure your logistics operations run smoothly.
Step 1: Log into Your Routestripe Account
- Open the Routestripe website and enter your login credentials.
- Once logged in, navigate to the sidebar menu.
- Select Warehouse from the sidebar.
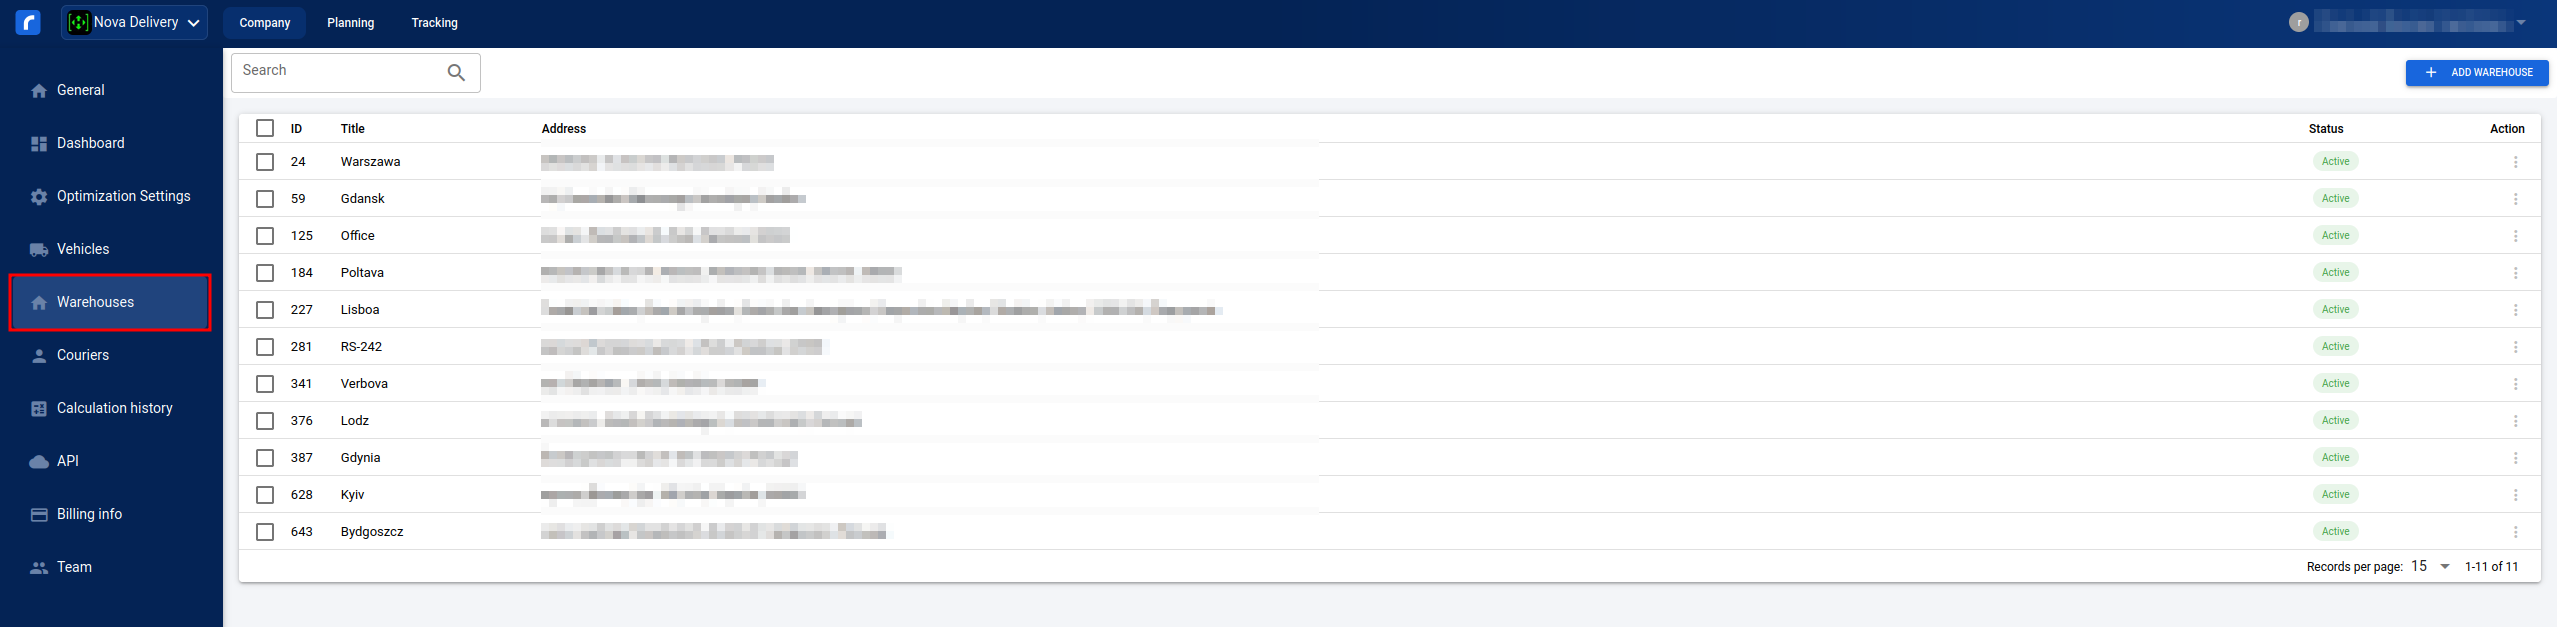
Step 2: Access the Warehouse Page
-
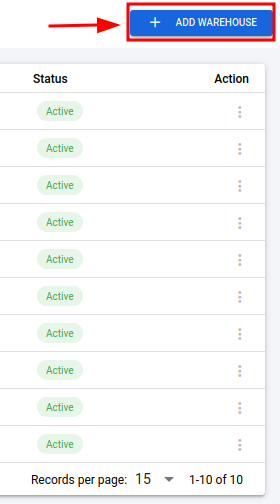
On the Warehouse page, click the ADD WAREHOUSE button located in the upper-right corner of the page.
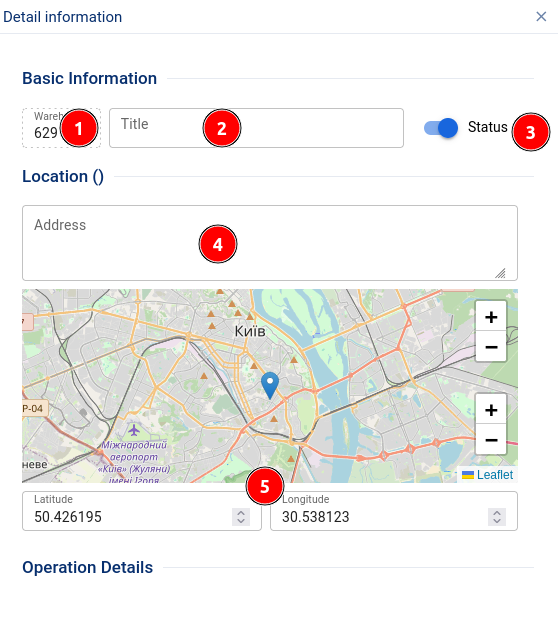
Step 3: Enter Warehouse Details
Fill in the required information in the warehouse creation form:
- Warehouse ID: Enter a unique identification number for the warehouse.
- Title: Provide a descriptive name for the warehouse.
- Status: Select the current status (e.g., Active, Inactive, Under Maintenance).
- Warehouse Address: Enter the full address of the warehouse.
- Alternatively, you can select the warehouse location on the interactive map using latitude and longitude coordinates.
Step 4: Save and Confirm
-
Once you have entered all the necessary details, the system will automatically add the warehouse to your list.
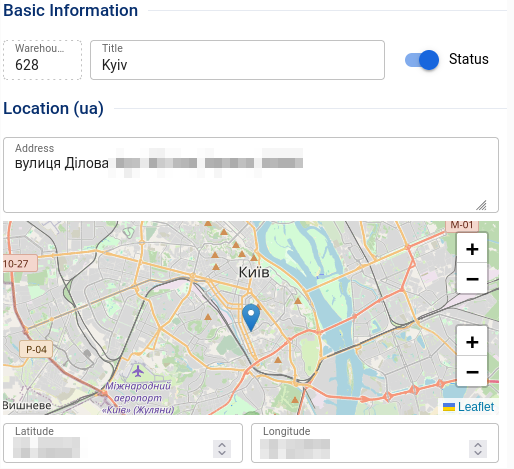
-
You will see the newly created warehouse appear on the Warehouse page.

Pro Tips:
-
Ensure that the Warehouse ID is unique to avoid conflicts.
-
Use clear and consistent naming conventions for warehouse titles.
-
Double-check coordinates when adding via latitude and longitude to prevent errors.
By following these steps, you will successfully add a new warehouse to your Routestripe account, helping streamline your logistics management.