Setting OPTIMIZATION PARAMETERS
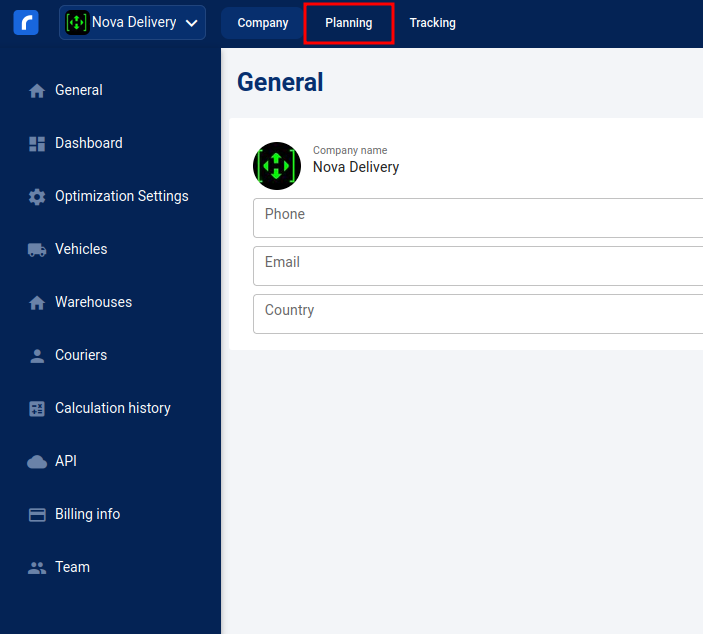
- Access Planning Mode: Log into your Routestripe account and switch to Planning mode via the upper-left section.
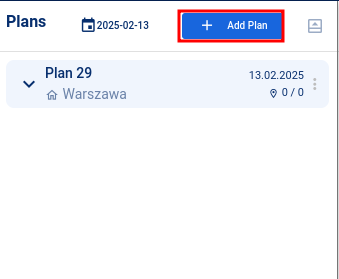
- Access Plan Settings: In the Plans side section, click the settings button to set up the optimization.
- Add a Plan: Select Add Plan, enter the plan title, choose the warehouse from the dropdown menu, and save your entry.
-
Specify Optimization Parameters: Enter all details to fine-tune the plan optimization.

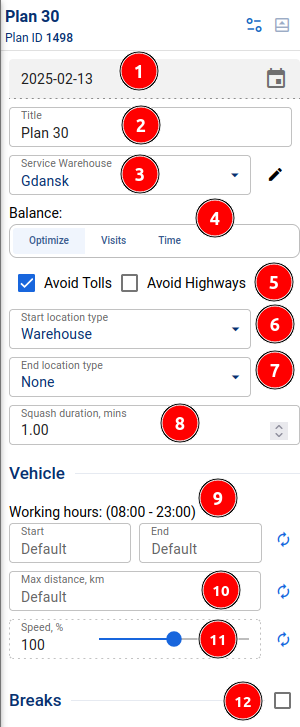
- Date of plan.
- Title.
- Starting warehouse.
- Optimization mode. Optimize mode tries to balance the plan equally based on amount of visits and time, whereas Visits and Time options will optimize only based on visits, or time correspondingly.
- Whether to avoid roads with tolls or highways.
- Start location type.
- End location type.
- Squash duration for cases with multiple deliveries during visits in the same place.
- Working hours of vehicle.
- Max distance for vehicle per day.
- Speed for cases with high traffic zones.
- Whether breaks are allowed.
OPTIMIZE PLAN
- Optimization Dashboard: Locate the optimization dashboard on the lower right part of the screen.
- Drivers selected for the plan.
- Timeline of first driver.
- Timeline of second driver.
- Starting location.
- Visits on the timeline.
- Plan details on total time, on road time, amount of visits (and whether there are some unserved visits left), routes and total distance.
- Optimize button that optimizes the plan based on plan parameters.
- Approve button that confirms and applies the end result.
- Reset button that resets the optimization setup.
- Review Data: Ensure you have selected appropriate drivers, vehicles, and visits.
- Optimize: Using the Optimize button, start plan optimization. It may take some time.
- Review the Results: decide whether you agree with the proposed plan optimization, APPROVE or RESET the plan.