To update an existing vehicle in Routestripe, follow these steps:
Step 1: Access the Vehicle Section
Log into your Routestripe account and navigate to Vehicles from the sidebar menu.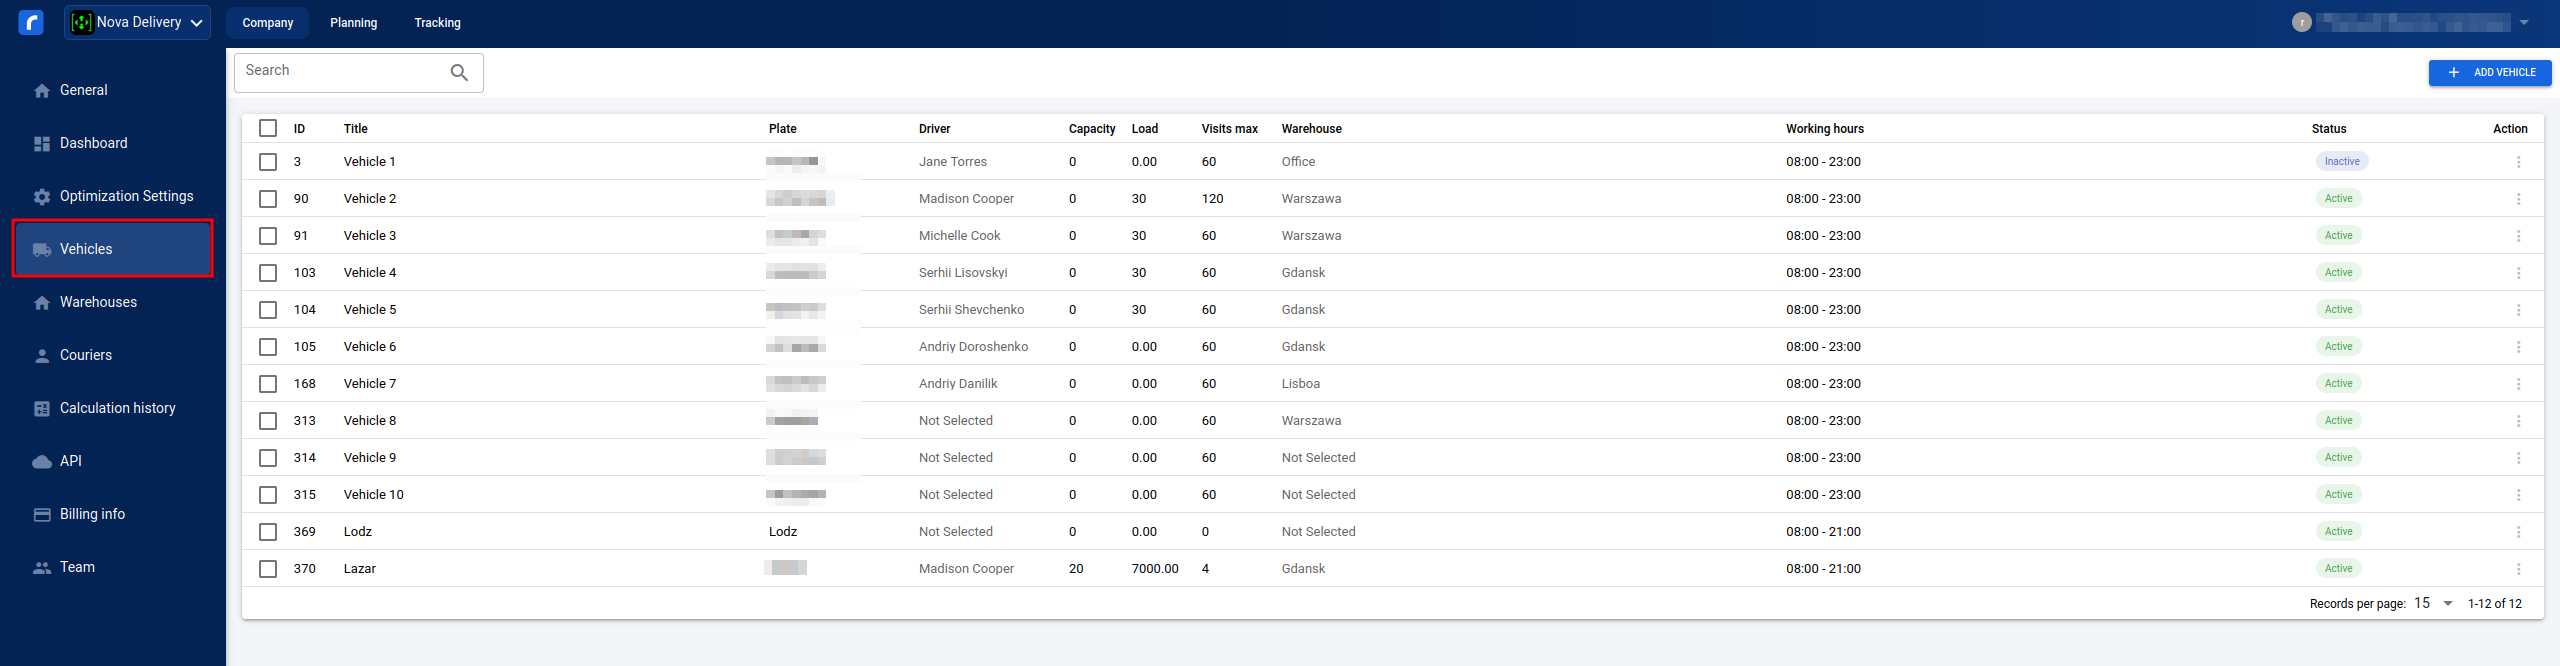
Step 2: Select the Vehicle to Edit
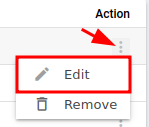
Locate the vehicle you wish to update on the Vehicles page. Use the kebab menu (three-dot icon) in the Action column and select Edit.
Step 3: Update Vehicle Details
In the Basic Information section, modify any of the following fields:

- Status (Active/Inactive)
- Title (Vehicle name or identifier)
- Plate Number
- Assigned Driver
- Vehicle Type (e.g., Truck, Van)
- Width (meters)
- Height (meters)
- Capacity: Volume (m³)
- Maximum Load Capacity
- Maximum Number of Visits Per Day
- Working Hours: Start time
- Working Hours: End time
- Default Break Hours: Start time
- Default Break Hours: End time
- Allowed Break Duration (total)
- Maximum Distance Per Day
- Possible Overtime (if applicable)
- Speed Limit (if defined)
- Service Warehouse (trip starting point)
- Park Location (alternative starting point, if applicable)
Step 4: Save Changes
The vehicle details will update automatically and reflect on the Vehicles page.
This completes the vehicle editing process.